How to Change the Background of a Photo Online (White, Black, or Custom)
Change the background of a photo online with AI. Swap in a white, black, or custom background for products, profiles, and listings, in a few easy steps.

A messy room, a busy street, or a cluttered table can spoil an otherwise good photo. Changing the background fixes that. You keep the person or product exactly where it is and replace everything behind it with something cleaner: a plain white backdrop for a marketplace listing, a dark background for a dramatic portrait, or a new scene such as a studio wall or a beach.
This guide shows how to change the background of a photo online in a few clicks, how to get a pure white or black background when you need one, and how to choose between changing and simply removing the background.
What changing a background actually does
Changing a background is a two-part job. First the subject is separated from everything behind it. Then a new background is placed behind the subject, with lighting and colour adjusted so the result looks like one photo instead of a cut-out pasted on top.
Doing this by hand in an editor such as Photoshop means selecting the subject, cleaning the edges, adding a new layer, and matching the light. An AI background changer does all of these steps for you. It looks at the subject, works out the light and colours in the original photo, and creates a new background that fits.
How to change the background of a photo with PerfectifyAI
You can do this in a browser on a phone or a computer. There is nothing to install.
- Open the PerfectifyAI Background Changer.
- Upload your JPG, PNG, or WebP photo.
- Make sure Background Changer is selected.
- Choose a background: White, Black, or Custom.
- If you chose Custom, describe the background you want in a few words, for example "a soft beige studio wall" or "a wooden table near a window".
- Choose Change background.
- Enter the email address where you want the download notification and complete the human-verification step.
- Download your new photo and check the edges, especially around hair, fur, and thin parts.
If you are not happy with the result, try again with a slightly different description. Small changes in wording, such as "plain light grey wall" instead of "grey background", can make a real difference.
Note: Background Changer is an AI tool, so White and Black may not come out as a flat, exact colour. The AI uses the white or black preset as a reference and matches its tone and colour scheme to your original photo, so you may see soft shadows, a gentle gradient, or a slightly warm or cool tint. If you need a pure white or pure black background, for example for a marketplace that checks the exact colour:
- Option 1: choose Custom and ask for it directly, such as "put the subject on a plain white background" (or "plain black background").
- Option 2: remove the background first with the Background Remover, then apply white or black to the transparent image.
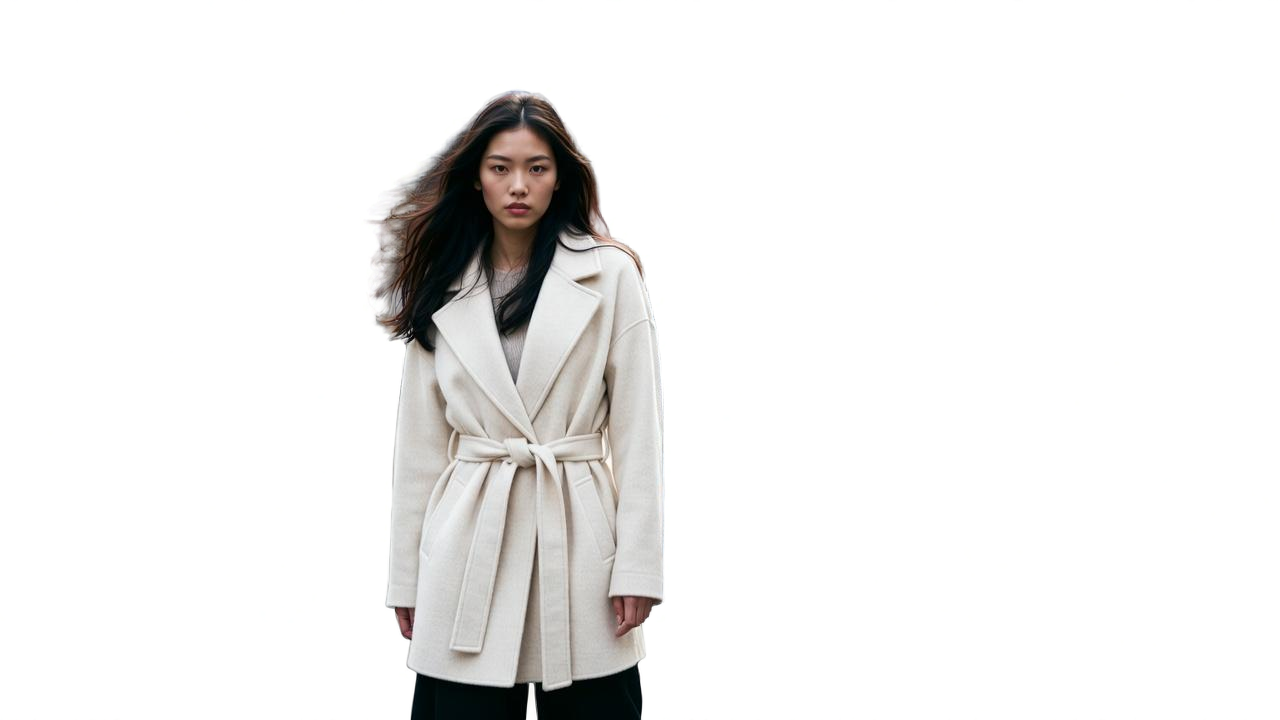
Here is a real example. The first image is a street photo with cars, signs, and people behind the subject. The second is the same photo after running it through Background Changer with the White preset: the busy street is gone and the subject is on a clean white background.
Before: the original photo on a busy city street.

After: the same photo with the background changed to white.
Which background should you choose?
The right background depends on where the photo is going.
White background
White is the safe choice for online selling, catalogues, ID-style photos, and professional profiles. It keeps all the attention on the subject and looks clean on almost any website. Many marketplaces, including Amazon and Flipkart, ask for a white or plain background on main product images, so check the listing rules for the site you sell on.
Black background
Black suits jewellery, watches, perfume bottles, and portraits where you want a bold, premium look. Light and shiny objects stand out strongly against it. Avoid black if your subject has very dark hair or dark clothes, as the edges can blend into the background.
Custom background
Custom lets you describe any background in your own words. It is useful when a plain colour feels too flat, for example:
- A product on a marble counter, a wooden table, or a kitchen shelf
- A profile photo in front of a softly blurred office or a bookshelf
- A seasonal post with a festive Diwali or Christmas setting
- A travel-style photo with a beach, garden, or city view
Short, clear descriptions usually work best. Mention the surface, the setting, and the mood, such as "bright, minimal bathroom shelf with soft morning light".
Transparent background
Sometimes you do not want a new background at all, just an empty one. A transparent PNG lets you drop the subject into Canva, PowerPoint, a website, or a design file and put anything behind it later. For that, use the Background Remover instead. Our guide on how to make an image transparent explains how transparency works and why JPG files cannot keep it.
Change background vs remove background
These two tools sound similar but solve different problems.
- Remove background gives you only the subject on a transparent background. It is best when you plan to edit further, such as building a poster in Canva or adding the cut-out to a website. See how to remove a background in Canva or in Photoshop and GIMP for manual options.
- Change background gives you a finished photo with a new background already in place, with lighting matched to the subject. It is best when you want a ready-to-post image straight away.
If you sell online, how to remove the background from a product photo covers marketplace image tips in more detail.
Tips for better results
- Start with a sharp, well-lit photo. The AI can only work with what is in the picture. Blurry or very dark photos give weaker edges.
- Keep the whole subject in the frame. Cut-off hands, feet, or product corners are hard to fix later.
- Leave some space around the subject. A little room at the edges helps the new background look natural.
- Use contrast when you shoot. A light product on a dark surface, or the other way round, is easier to separate cleanly.
- Be specific with Custom descriptions. "Plain white background" is clearer than "nice clean background".
- Check the edges on the final image. Zoom in on hair, fur, glass, and thin straps before you post.
- Keep the original. Always work on a copy so you can try again.
- Only edit photos you own or have permission to use. Changing the background does not change who owns the image.
Frequently asked questions
How can I change the background of a photo for free?
Upload your photo to the PerfectifyAI Background Changer, choose White, Black, or Custom, and choose Change background. Your first edit is free, and you get the download link by email.
Can I change a photo background on my phone?
Yes. PerfectifyAI works in the browser on Android phones and iPhones, so you do not need to install an app. Open the Background Changer page, upload a photo from your gallery, and follow the same steps.
How do I get a pure white background, for example for a passport-style or product photo?
Background Changer is an AI tool, so the White preset is used as a reference and matched to your photo's tone, and it may not be a flat, exact white. For a plain white result, choose Custom and ask for "a plain white background", or remove the background first with the Background Remover and then apply white. For official documents such as passports or visas, always check the exact photo rules from the issuing office, as they also cover size, lighting, and expression.
Will changing the background reduce the image quality?
Changing the background does not deliberately lower quality, but the result depends a lot on the photo you upload. Start with the highest-quality original you have, and download the result as a PNG if you plan to edit it further.
Can I change the background to a specific place or scene?
Yes. Choose Custom and describe the scene, such as "a sunny beach", "a modern office", or "a wooden table with plants". The AI creates a matching background and adjusts the light to fit your subject.
Can I remove a watermark before changing the background?
If the photo is yours and has a visible watermark, you can clean it first with the PerfectifyAI Watermark Remover and then change the background. Our guide on how to remove a watermark from a photo explains how.
Change your photo background
A new background can turn an ordinary phone photo into a clean product shot, a sharp profile picture, or a social post that stands out. Try the PerfectifyAI Background Changer, pick White, Black, or a Custom scene, and check the edges before you publish. If you need a pure flat colour, use a Custom description or remove the background first.