How to Remove a Background in Photoshop (and GIMP), or in One Click
Step-by-step ways to remove a background in Photoshop and GIMP, a quick note on Canva, and a one-click option when you just need a transparent PNG.
Removing a background means separating the subject (a person, product, or object) from everything behind it so you can place it on a new design or save it as a transparent PNG. Photoshop and GIMP both do this well once you know which tools to use, Canva can do it on a paid plan, and an automatic tool can do it in one click.
This guide walks through each option step by step. If your main goal is a see-through file, how to make an image transparent explains PNG vs JPG and alpha channels in more detail.
Before you start: pick a good photo
Every method works better with a sharp, evenly lit photo that shows the full subject against a background of a different colour. Hair, straps, and glass take the most time. Work on a copy and keep the original. Only edit images you own or have permission to modify.
How to remove a background in Photoshop
Recent versions of Photoshop give you a fast automatic option and more precise manual tools. Menu names below match current Photoshop on Windows and macOS; older versions may place some buttons differently.
Option 1: The Remove Background quick action
This is the fastest way to remove a background in Photoshop.
- Open your image. If the layer is called Background and shows a lock icon, click the lock to turn it into a normal layer.
- With the layer selected, look for Remove background in the Contextual Task Bar under the image, or open Window > Properties and choose Remove Background under Quick Actions.
- Photoshop detects the subject and adds a layer mask that hides the background. You will see a checkerboard where the background used to be.
Because it is a mask, nothing is deleted; paint on the mask later to fix mistakes.
Option 2: Select Subject plus a layer mask
Use this when you want to review the selection before hiding anything.
- Choose Select > Subject. Photoshop draws a selection around the main subject.
- Check the marching ants. Hold Shift with any selection tool to add missed areas, or Alt (Option on Mac) to remove extra areas.
- Click the Add layer mask button at the bottom of the Layers panel. The selected subject stays visible and the background is hidden.
Option 3: The Object Selection tool
When the photo has several objects and you only want one, the Object Selection tool gives you more control.
- Pick the Object Selection tool (shortcut W) from the toolbar.
- Hover over the object you want. Photoshop highlights it; click to select it. You can also drag a rectangle or lasso around it.
- Add a layer mask as in Option 2.
Refine edges with Select and Mask
Automatic selections often struggle with hair, fur, and soft edges. To clean them up:
- With the layer mask selected, choose Select > Select and Mask.
- Set View to On Black or On White so problem areas are easy to spot.
- Click Refine Hair, or paint along hair and fuzzy edges with the Refine Edge Brush tool.
- Use the Smooth, Feather, and Shift Edge sliders sparingly. Small values usually look more natural.
- Under Output Settings, tick Decontaminate Colors if you see a halo of the old background colour, then output to Layer Mask and click OK.
Export a transparent PNG from Photoshop
Hiding the background only matters if you save in a format that keeps transparency.
- Choose File > Export > Export As.
- Set Format to PNG and make sure Transparency is ticked.
- Click Export and save under a new filename.
File > Export > Quick Export as PNG also works. Avoid JPG: it cannot store transparency. Keep the layered PSD so you can adjust the mask later.
How to remove a background in GIMP
GIMP is free and handles background removal well, though it takes a few more steps. These steps work in GIMP 2.10 and GIMP 3.
Step 1: Add an alpha channel
Without an alpha channel, deleted pixels turn white (or your background colour) instead of transparent. Choose Layer > Transparency > Add Alpha Channel. If the option is greyed out, the layer already has one.
Step 2a: Fuzzy Select for plain backgrounds
If the background is one flat colour, Fuzzy Select (the magic wand) is quickest.
- Pick the Fuzzy Select tool (shortcut U).
- Click the background. Hold Shift and click to add more areas. Adjust Threshold in Tool Options if too much or too little is selected.
- Press Delete. The background becomes a checkerboard.
Step 2b: Foreground Select for detailed subjects
For busier backgrounds or subjects with hair, use Foreground Select.
- Choose Tools > Selection Tools > Foreground Select.
- Draw a rough outline around the subject and press Enter.
- Paint over the subject with the brush to mark it as foreground. You do not need to be exact; GIMP previews the result as you go.
- Press Enter (or click Select) to create the selection.
- Choose Select > Invert, then press Delete to clear the background.
Step 3: Export a PNG from GIMP
GIMP's Save creates an XCF project file, not an image. To get a transparent file, choose File > Export As, type a filename ending in .png, and click Export. Keep the default PNG options unless you have a reason to change them.
A quick note on Canva
Canva can remove backgrounds too, but its Background Remover is a paid feature. It is available on Canva Pro and other paid or eligible plans (such as Teams, Education, and Nonprofit), not on the free plan. Downloading a PNG with a transparent background is also a paid feature.
If you have access, select the image, click Edit, and choose BG Remover. You get fewer edge-fixing tools than in Photoshop or GIMP.
Or remove the background in one click
If you do not have Photoshop or just need a clean cut-out quickly, an automatic tool is often enough. PerfectifyAI's Background Remover detects the subject and gives you a transparent result without any manual selection.
- Open the PerfectifyAI Background Remover.
- Upload a JPG, PNG, or WebP image from your device.
- Confirm that Background Remover is selected, then choose Run.
- Enter the email address where you want the download notification and complete the human-verification step.
- Open the download link and check that you have a transparent PNG, not a solid rectangle.
If an edge needs extra care, you can still touch up the PNG in Photoshop or GIMP. For tips specific to listings and catalogues, see how to remove the background from a product photo.
Before and after example
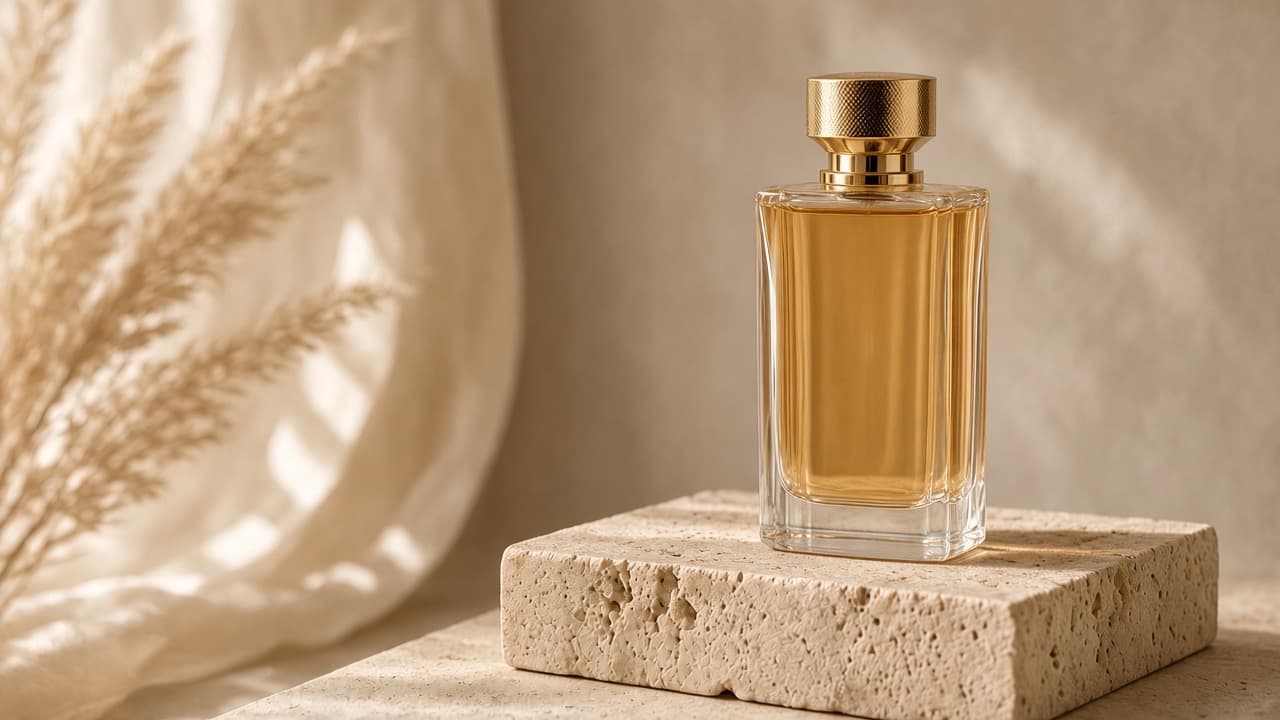
The first image shows the original photo with its background. The second shows the same subject after background removal, saved as a transparent PNG.
Before: the original photo with its background.
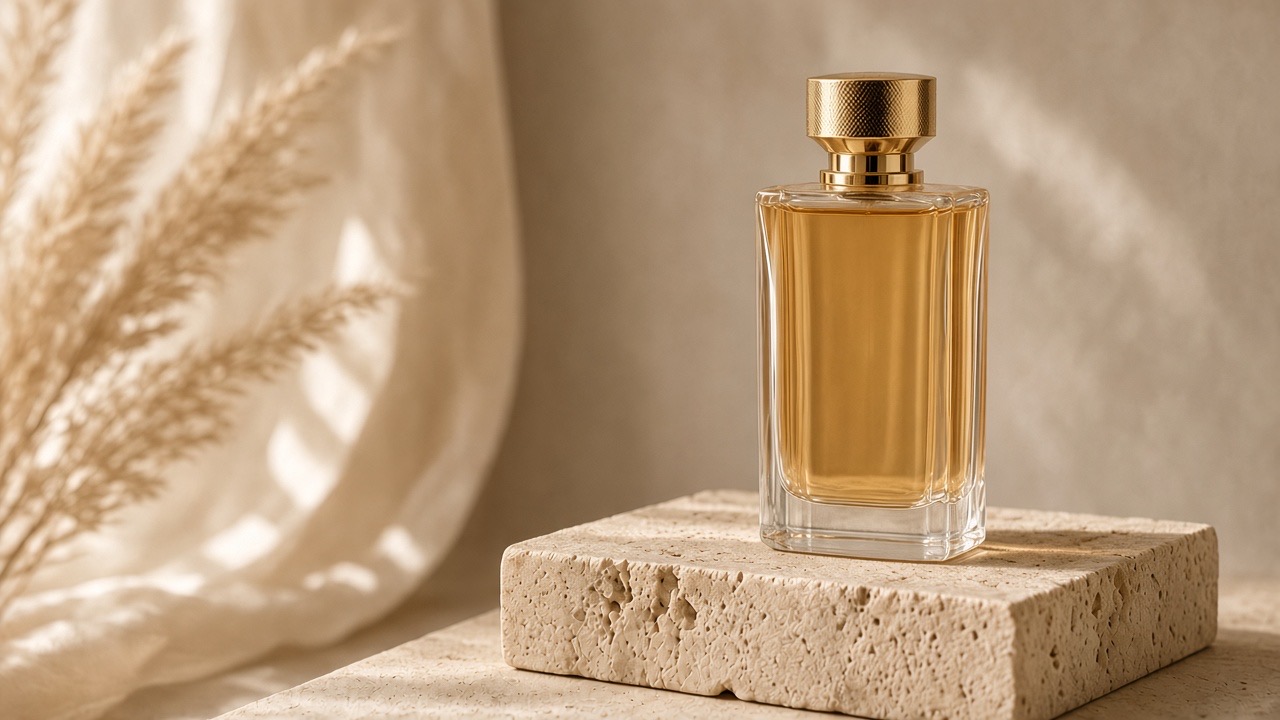
After: the same subject with the background removed.

The pale fill behind the second image is only there so you can see the transparency; it is not part of the PNG.
Check the result before you use it
Whichever method you use, view the cut-out at real size. Look for leftover background, coloured halos, and gaps inside handles or between fingers, and place the PNG on both light and dark backgrounds: a fringe hidden on white can stand out on black.
Frequently asked questions
What is the fastest way to remove a background in Photoshop?
The Remove Background quick action. Unlock the layer, then click Remove background in the Contextual Task Bar or under Quick Actions in the Properties panel. Photoshop adds a layer mask in a few seconds.
Why is my background white instead of transparent in GIMP?
The layer has no alpha channel. Choose Layer > Transparency > Add Alpha Channel, then delete the background again. Also make sure you export as PNG, not JPG.
Can I remove a background in Canva for free?
No. Canva's Background Remover needs Canva Pro or another eligible paid plan. A free automatic tool or GIMP are alternatives if you do not have a subscription.
Should I save the result as PNG or JPG?
PNG. JPG cannot store transparency, so the removed area becomes a solid colour. See how to make an image transparent for more on formats.
Remove your background
Photoshop gives you the most control, GIMP does the job for free, and Canva works if you already pay for it. When you just need a clean transparent PNG, try the PerfectifyAI Background Remover. Keep your original file, and check the edges on light and dark backgrounds before you publish.